
January 26, 2026
How to Create a Step-by-Step Guide That Teams Will Actually Use

Learn how to create a step-by-step guide that teams will actually use with a practical, repeatable process for planning, building, and sharing.
Let's be honest: most internal guides and Standard Operating Procedures (SOPs) are where good intentions go to die.
They end up in a forgotten folder, gathering digital dust because they were tedious to create and even more of a pain to follow. This creates a cycle of frustration that most teams know all too well.
It shows up in familiar ways. Maybe it’s the inconsistent quality of client work because everyone follows their own slightly different process. Or perhaps it's the chaotic onboarding for new hires, who are forced to ask the same questions over and over again.
Those repetitive questions drain valuable time from your senior team members, pulling them away from high-impact work.
Stop Documenting and Start Solving
The traditional fix for this is to "document everything." But this usually results in dense, text-heavy documents that nobody actually wants to read. A better approach reframes the goal entirely.
You’re not just documenting steps; you’re building a living resource that actively removes friction from daily work. It’s about creating a tool, not just a manual.
This shift turns a dreaded task into a strategic advantage. This visual shows how you can get from a recurring problem to a streamlined solution with a well-crafted guide.
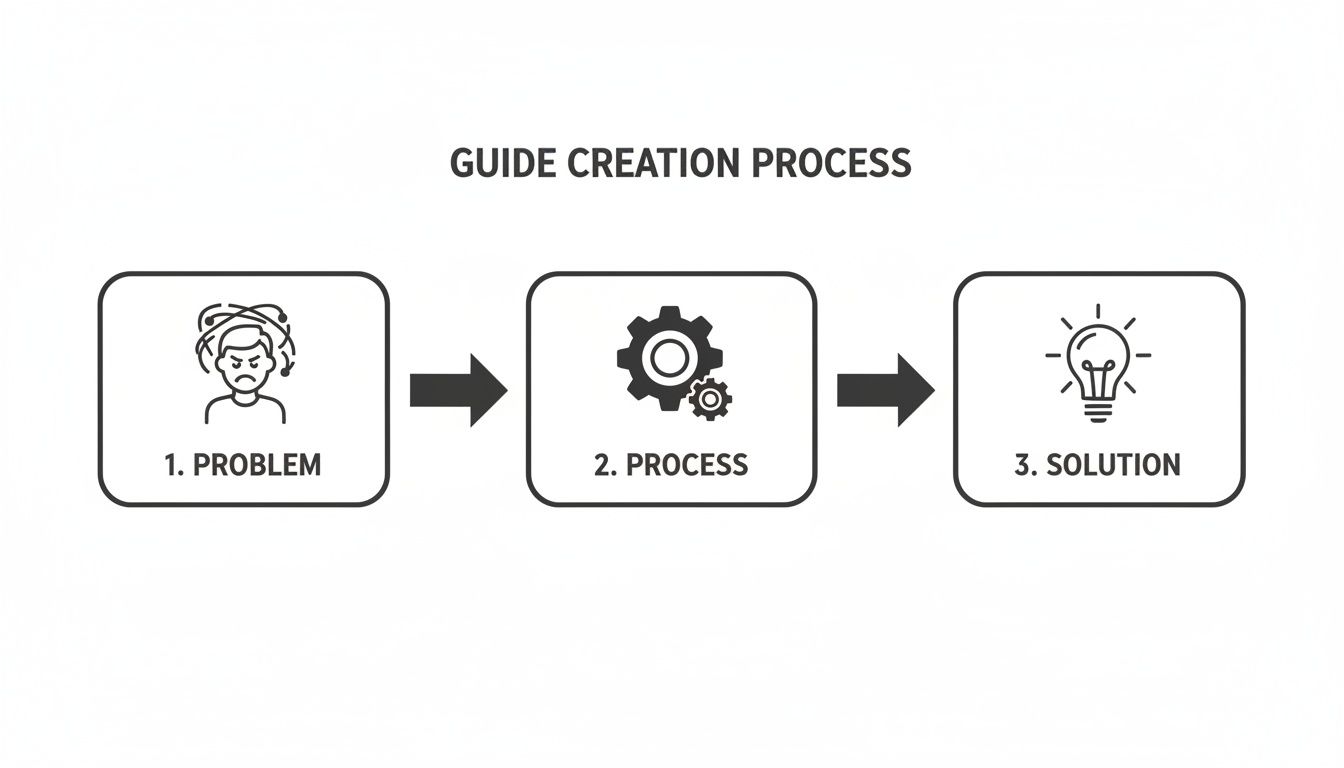
The most effective guides are born from real pain points and are designed to deliver a clear, actionable fix. And thankfully, new tools are making it easier than ever to automate the most time-consuming parts of the process.
The core idea is simple: If a guide doesn't make someone's job easier, faster, or clearer, it has failed. Success isn't measured by the number of guides you have, but by how often they solve real-world problems.
This shift in mindset is critical. In fact, companies with a documented content strategy are over 300% more likely to report success, a principle that applies directly to internal documentation. When you treat your guides as solutions, you transform chaotic processes into efficient, repeatable workflows. You can see more about how a clear content creation process drives success over at BabyLoveGrowth.ai.
This article gives you a practical roadmap for creating guides your team will not only use but genuinely appreciate.
Let's break down the five phases of creating a guide that actually gets used.
The Modern Guide Creation Lifecycle at a Glance
This table provides a high-level overview of the five key phases in creating an effective step-by-step guide, from initial strategy to long-term impact.
Phase | Core Activity | Key Outcome |
|---|---|---|
1. Plan & Strategize | Identify a recurring problem and define the target audience. | A clear goal and a defined scope for the guide. |
2. Capture & Record | Perform the task while recording the screen to capture the real workflow. | An authentic, unedited recording of the process. |
3. Convert & Generate | Use a tool to automatically convert the recording into steps and screenshots. | A structured, editable first draft of the guide. |
4. Refine & Publish | Edit text, add notes, and publish the guide to an accessible platform. | A polished, user-friendly guide ready for the team. |
5. Maintain & Improve | Track usage, gather feedback, and update the guide as the process evolves. | A living document that remains accurate and valuable. |
Each phase builds on the last, ensuring the final guide is not just comprehensive but truly useful in the real world.
Building a Rock-Solid Plan Before You Record
Jumping into a screen recording without a plan is the fastest way to create a confusing, rambling guide. The best guides feel effortless for one reason: someone did the hard work before hitting record. This is where you turn a vague idea into a focused, actionable roadmap.
It all starts by answering a few simple questions. Who is this actually for? What specific problem are you solving for them? Get this right, and everything else falls into place.
A guide for a brand-new junior hire learning an internal tool will look completely different from one for a tech-savvy client exploring a new feature. The first needs more context and basic steps; the second can skip the hand-holding.
Define the Who, What, and Why
Before you outline a single step, you have to get brutally honest about the guide's purpose. This clarity is what stops you from adding unnecessary details and ensures the final product is actually useful.
Think of it this way: creating a guide without a defined audience is like launching a startup with no market research. It's a gamble that almost always fails. In fact, 42% of startups fail because they build something nobody actually wants. The same logic applies here—validate the need before you build the solution. You can see more on how this plays out in this guide to startup statistics from ff.co.
To sidestep this common mistake, use a simple framework to define your guide's mission.
Who is the end user? (e.g., A new marketing hire with zero experience in our CRM.)
What is their primary goal? (e.g., To correctly add a new lead and schedule a follow-up.)
Why do they need this guide? (e.g., To prevent data entry errors and keep our lead management consistent.)
Answering these gives you a powerful filter for every decision you'll make from here on out.
Map the Entire Workflow
Once you know your mission, it's time to map the process from start to finish. The goal here is to break a complex task into logical, bite-sized chunks. Don't overthink it; just think sequentially.
Imagine you're an agency creating an SOP for a new client on how to read their monthly performance report. Your high-level workflow might look something like this:
Accessing the Portal: Start with the very first step—logging in.
Navigating to the Dashboard: Show where to find the reporting section.
Applying Date Filters: Detail how to select the right month.
Interpreting Key Metrics: Briefly explain what each chart means.
Exporting the Report: Cover the final action of downloading the data.
This outline becomes the skeleton of your guide, making sure you don’t miss any critical stages. For more tips on this initial phase, check out our guide on how to document a process in under 10 minutes.
Pro Tip: As you map out the steps, try to anticipate where someone might get stuck. Is there a button with a weird label? A step that requires information from another system? Proactively addressing these friction points is what separates a good guide from a great one.
Gather Your Assets and Prepare Your Environment
With a clear map in hand, the last step is to get all your stuff together. This ensures a smooth, uninterrupted recording session. Nothing kills your flow like having to stop mid-recording to search for a password or a specific file.
Create a simple checklist for yourself before you begin:
Logins and Passwords: Have every credential you'll need ready and tested.
Sample Data: Prepare any example files, customer profiles, or data necessary to complete the workflow.
Brand Guidelines: If it matters, have your company's logos, color codes, and fonts handy.
A Clean Workspace: Close all the unnecessary browser tabs and apps. A clean screen is a distraction-free screen.
This prep work doesn't just save you time; it leads to a more professional and polished final guide. By investing a little time in planning, you set yourself up for a much faster, more effective creation process.
Capturing Your Workflow with Modern Tools
You've got a solid plan. Now for the most important part: actually capturing the process. This is where your abstract outline becomes a real, tangible guide someone can follow. The goal here isn't perfection; it's authenticity. You want to record the workflow exactly as someone would do it on a normal day.
The small details you get right at this stage make a huge difference in how clear the final guide is. Before you even think about hitting ‘record,’ take a moment to prep your digital workspace. It’s all about removing the little distractions that can confuse a user later on.
This simple mind map shows the core things to keep in your head—Who, What, and Why. It helps anchor every action you record back to a clear purpose.
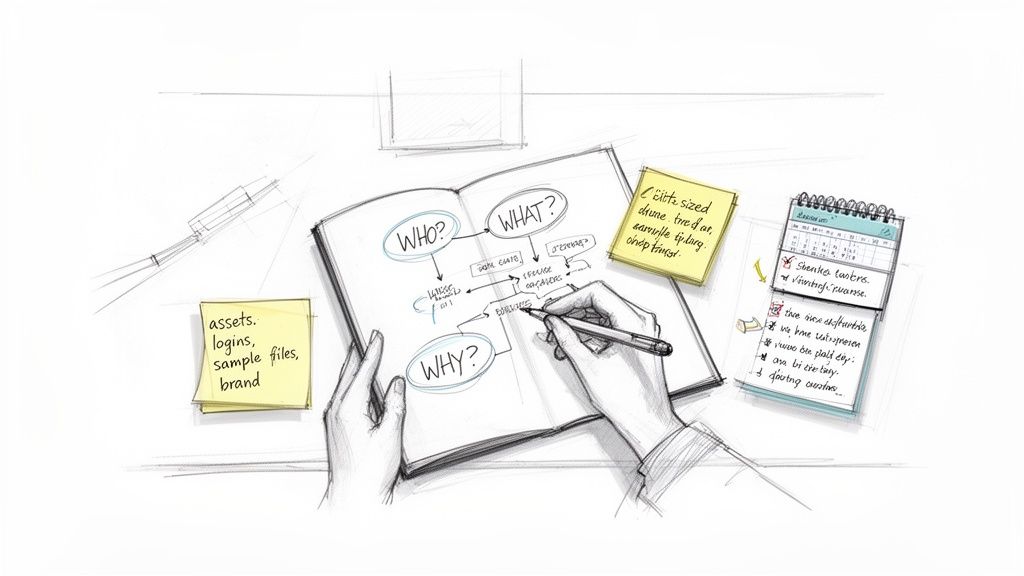
Thinking this way keeps you grounded in the plan you already made, making sure the user’s needs stay front and center.
Setting the Stage for a Perfect Recording
A little bit of prep work goes a long, long way. Think of yourself as a film director setting the scene. You want everything just right so the take is smooth and professional.
Here are a few practical tips to set yourself up for success:
Use a Clean Browser Profile: This gets rid of distracting bookmarks, extensions, and saved passwords. You're showing them a clean slate anyone can follow, not your personal setup.
Organize Your Tabs: Only open the tabs you absolutely need and put them in the order you'll use them. No one wants to watch you frantically search for the right tab mid-recording.
Narrate as You Go: Even if you plan to replace the audio later, talking through your actions forces you to slow down and be more deliberate. It’s a great way to catch awkward steps in real-time.
This simple discipline ensures your recording is focused purely on the task. You're capturing the ideal path through a workflow, not your personal desktop chaos.
From Screen Recording to Instant Documentation
This is where modern tools completely change the game. Forget manually taking screenshots, pasting them into a document, and writing out every single description. AI-powered platforms can now do all of that for you, instantly.
Picture a support agent who needs to document a tricky bug fix. They start a screen recorder, walk through the steps in the software—navigating menus, typing commands, clicking buttons—and then stop the recording. That's it.
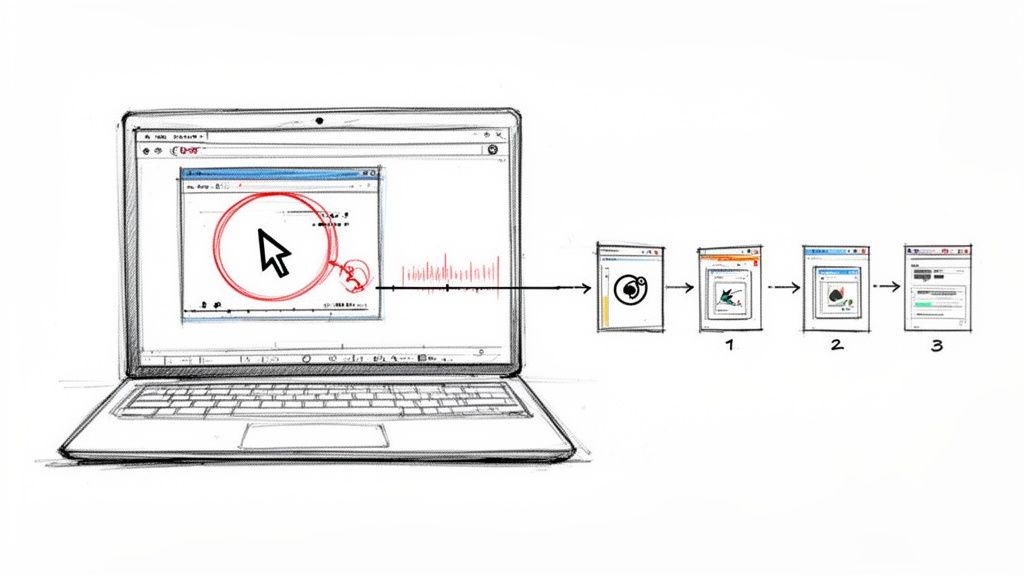
Within seconds, the software chews through the video. It automatically identifies every distinct action—a click, a scroll, text entry—and generates a perfect step for it. Each step includes a crisp screenshot with the exact point of action highlighted, plus a precise written description like "Click on 'Settings'" or "Type 'reset_cache' into the field."
This single automated step eliminates hours of tedious, soul-crushing manual work. It turns the most labor-intensive part of creating a guide into a simple, three-click process: record, stop, and generate.
This isn't just a time-saver; it’s a game-changer for accuracy. The AI captures exactly what happened, removing the risk of you forgetting a small but critical step. This is the whole idea behind recording once to guide forever, a concept that fundamentally shifts how teams think about documentation efficiency.
A Real-World Scenario: The Support Agent's Bug Fix
Let’s follow our support agent, Sarah. She needs to document a fix for a recurring customer issue. Before, this meant spending an hour or more painstakingly creating a guide after solving the problem.
Before: Sarah would solve the bug, then try to remember every step from memory. She'd have to recreate the issue, take dozens of screenshots, crop and annotate them, paste them into a doc, and write out each instruction. It was slow and easy to mess up.
Now: Sarah just turns on the Build a Guide recorder while she solves the ticket for the first time. She narrates her actions naturally as she works.
When she's done, the platform has already built a polished, step-by-step guide. It has the screenshots, the text descriptions, and the correct sequence. Her one-time effort is now a permanent, shareable resource for both her team and future customers. The efficiency gain is massive.
Ultimately, building effective how-to guides follows a logical process, much like a data algorithm. In data science, proper preprocessing can prevent 20-30% of accuracy loss from simple errors. In the same way, using the right tools to capture your workflow preprocesses the information correctly from the start. For Build a Guide users, this means turning screen recordings into SOPs that can shorten onboarding by 40%.
Refining Your Guide from Good to Great
An automated tool gets you 90% of the way there. It turns a screen recording into a structured document, saving you a ton of tedious work. But that last 10%? That’s where human insight turns a functional draft into a resource people actually want to use.
This isn’t about starting from scratch. It’s about elevating what the machine created. Using a rich-text editor, you can make small tweaks that have a massive impact on clarity and usability. You're simply smoothing out the rough edges left by automation, making the guide not just accurate, but incredibly easy to follow.
Clarify and Condense Your Steps
The first pass from an AI is literal—it captures every single click, scroll, and mouse movement. Your job is to add human interpretation. What the AI sees as three separate actions is often just one logical step for a person.
Look for places to merge redundant steps. For example, if the tool captured "Click on 'File' menu," then "Move cursor to 'Save As'," and finally "Click 'Save As'," you can combine them into a single, intuitive instruction:
"Save the document by navigating to File > Save As."
This simple act of condensing makes the guide less intimidating and much quicker to scan, without losing any critical information. It’s about thinking like your end-user, not like the machine.
Add Context and Human Insight
This is where your expertise really shines. An AI can describe what you did, but it can't explain why. Adding that context is the difference between a user blindly following instructions and actually understanding the process.
Think about the questions a new user might have and add brief notes to answer them before they’re even asked.
Explain the jargon: If you use a term like "CRM," add a quick note like, "(our Customer Relationship Management software)."
Clarify choices: If a screen has multiple options but only one is correct, explain why. For example, "Select 'Standard Export' instead of 'Full Export' to avoid including sensitive client data."
Provide warnings: Preempt common mistakes with a quick heads-up. A simple, "Be careful not to click 'Delete All,' as this action is irreversible," can save someone a major headache.
The best guides don’t just show the path; they illuminate it with helpful signposts. Your goal is to be the friendly expert sitting next to the user, offering tips and advice along the way.
Enrich Your Guide with Visuals and Media
A wall of text and screenshots can still feel monotonous. To make your guide more engaging, break up the content with richer media. This is a key part of learning how to create a step-by-step guide that people actually enjoy using.
Modern guide-building platforms make it easy to embed different elements that boost understanding.
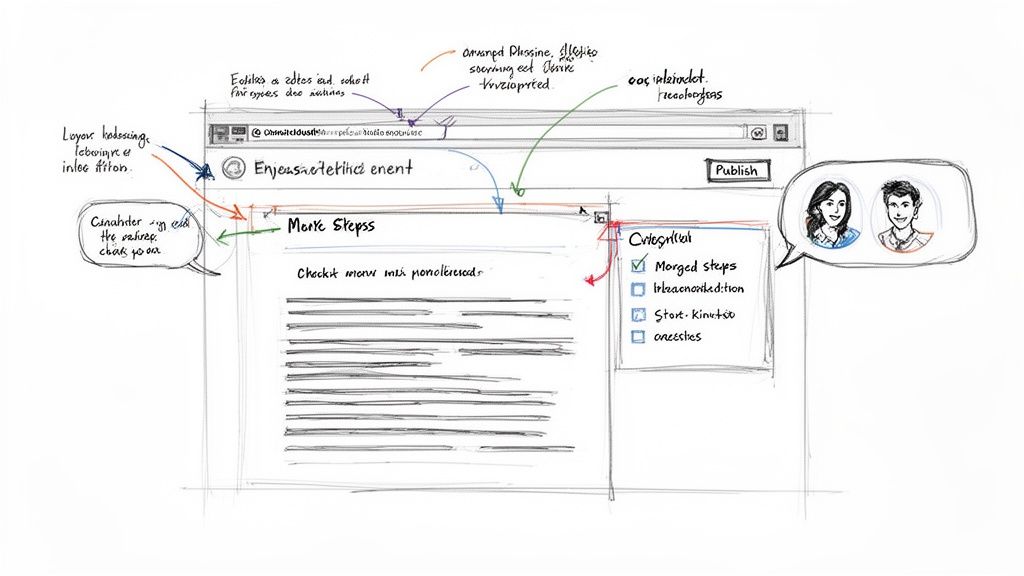
Annotate Screenshots: Don't just show a screenshot; make it work harder. Use arrows, boxes, or callouts to draw the user's eye directly to the most important element. This removes any guesswork.
Embed Short Videos or GIFs: For a complex or multi-click step, a short video or an animated GIF can demonstrate the action far better than static images. Show, don't just tell.
Add Summary Checklists: At the end of a long process, include a simple checklist. This lets users quickly confirm they've completed every key action, reinforcing the steps and providing a sense of accomplishment.
Exploring content repurposing strategies can also help you transform parts of your guide into different formats for other channels.
Collaborate for a Polished Final Product
No guide should be created in a vacuum. The final refinement step is bringing in your team to check for accuracy, clarity, and consistency.
Imagine a marketing manager and a graphic designer working on a guide for creating new social media assets.
The marketing manager can add comments on steps related to brand messaging or campaign goals.
The designer can co-edit the steps involving design software, ensuring the technical instructions are precise.
This real-time feedback loop is incredibly powerful. It catches errors, fills knowledge gaps, and ensures the final guide reflects the collective expertise of your team, all while speaking in a unified voice.
Sharing Your Guide for Maximum Impact
You’ve built a brilliant, insightful guide. That's the hard part done, right? Not quite.
Creating the guide is only half the battle. If it ends up buried in a shared drive or lost in a sea of chat messages, its value plummets to zero. Effective distribution is what turns a well-crafted document into a powerful, problem-solving tool for your entire team.
The real goal is to make your guides not just available, but effortlessly discoverable at the exact moment someone needs them. This means moving beyond just emailing a link and, instead, building a structured, accessible home for your team's knowledge.
Choose the Right Publishing Platform
How you share your guide directly influences how—and if—it ever gets used. Different methods serve different purposes, from a quick, one-off share to building a permanent knowledge library.
Direct Links: For immediate, targeted needs, a simple link is perfect. It's the fastest way to answer a specific customer ticket or help a colleague with a one-time task.
Branded Knowledge Hubs: This is the gold standard for creating a lasting resource. A searchable, well-organized hub acts as the central source of truth for your entire team or even your client base.
Embedded Guides: For customer-facing documentation, this is a game-changer. Embedding guides directly within your app or website provides contextual help right where users need it, cutting down on friction and support requests.
If you’re using video, accessibility is non-negotiable. For example, learning how to add subtitles to a video is a simple step that opens your guide up to a global audience and those with hearing impairments.
Organize Your Guides for Discoverability
A messy library is an unused library. Just dumping all your guides into a single folder creates clutter and makes finding anything impossible. The key is to organize your content logically, mirroring how your team actually thinks and works.
Create distinct collections based on function, team, or project. An agency, for instance, might have separate collections for things like:
Client Onboarding Procedures
Internal Marketing SOPs
Finance and Billing Workflows
Project Management Guidelines
This kind of structure makes information intuitive to find. A new project manager knows exactly where to look for the guide on setting up a client in your system, without having to ask for help. This is a core part of creating a guide that actually empowers your team. To see what's out there, you can explore various process documentation software options that are built for this kind of structured knowledge base.
Key Takeaway: Don't make your team hunt for information. A well-organized knowledge base should feel like a well-organized toolkit, where every tool has its designated place and is easy to grab when needed.
Measure What Matters with Engagement Analytics
Publishing your guide isn’t the final step. It’s the beginning of a powerful feedback loop. You need to understand how your guides are actually being used in the real world. This is where engagement analytics provide invaluable insights, turning your documentation from a static resource into a constantly improving asset.
Instead of just tracking page views, focus on metrics that reveal real user behavior.
Completion Rates: This is the most critical metric. If only 20% of users are finishing a guide, it's a huge red flag. The content might be too long, confusing, or just irrelevant after a certain point.
Time Spent on Each Step: Are people flying through the first four steps but spending minutes on step five? This pinpoints the exact areas of friction where your instructions might be unclear or the process itself is just too complex.
Common Drop-Off Points: Knowing exactly where users give up is like getting a treasure map for improvement. If tons of people get stuck and leave at the same step, you know precisely what part of the guide needs to be revised or clarified with a better visual.
Feedback and Ratings: A simple thumbs-up/thumbs-down or a short comment box is priceless. This qualitative data gives you direct user input on what’s helpful and what’s not, complementing the hard numbers.
By tracking these metrics, you move from guesswork to data-driven improvement. You have a clear mandate to go back, refine that one tricky instruction, and republish an even better version. This iterative process ensures your guides stay accurate, relevant, and genuinely useful over time.
A Few Common Questions
Even with the best plan, you'll run into questions when you start creating process documentation. Here are a few of the most common ones we see, along with some straight answers to help you stay on track.
How Long Should a Step-by-Step Guide Be?
There’s no magic number here. The right length is whatever it takes to get the job done.
A simple guide, like how to reset a company password, might only be five steps. A more complex workflow, like onboarding a new client, could easily have 25 steps or more.
The real rule is to focus on a single, clear outcome. If your process starts branching off into different tasks or has multiple possible results, you’ve gone too far. Break it up. It’s far better to have several short, focused guides than one monster document that tries to do everything.
What Are the Most Common Mistakes to Avoid?
Most guides fail because of a few predictable pitfalls. It's rarely about the software you use and almost always about the assumptions you make.
Knowing these upfront is half the battle. Here are the top five mistakes we see over and over:
Assuming prior knowledge: This is the big one. What’s "obvious" to you is a roadblock for someone new. Always write for a total beginner.
Using technical jargon: Resist the urge to use internal acronyms or overly technical terms. If you must use them, explain them simply.
Lacking clear visuals: Every single action needs a visual. An annotated screenshot removes all doubt about what to click and where.
Creating a single massive guide: Break complex processes into smaller, task-based modules. They're easier to search, follow, and update.
Forgetting to update it: An outdated guide is worse than no guide at all. It actively erodes trust and causes confusion.
How Do I Get My Team to Actually Use the Guides?
Creating a great guide is only the first step. Adoption is where the real work begins. You can’t just announce it and hope for the best.
First, make your guides impossible to miss. They need a central, searchable home—a single source of truth. Then, embed them directly into your team's existing workflows. Link to relevant SOPs from your project management tasks, your support ticket templates, and your new hire checklists.
Next, get your leadership on board. When managers and senior team members reference the guides consistently, it sends a powerful message that this is how work gets done here. It sets the standard from the top down.
Ultimately, your guides must be a living library. Use analytics and team feedback to continuously refine and update the content, ensuring it always remains accurate, relevant, and genuinely helpful.
What's Better: a Video or a Written Step-by-Step Guide?
This comes up all the time, and it's a false choice. While a video is great for showing a concept, a written guide is almost always better for doing the task.
Think about it. With a written guide and screenshots, a user can move at their own pace. They aren't constantly pausing, rewinding, and trying to catch what was on the screen for a split second. Written guides are also scannable, searchable, and incredibly fast to update when one little step changes.
The best solution is often a hybrid. Use a polished, interactive written guide as your foundation, but embed short videos or GIFs to clarify any steps that are particularly tricky or nuanced. This gives you the best of both worlds: the clarity of video and the practicality of a written walkthrough.
Ready to stop documenting and start solving? With Build a Guide, you can turn any screen recording into a polished, interactive guide in minutes. Empower your team, delight your clients, and build a living library of your best processes. Start building for free.